You can elevate your bathroom from merely functional to luxurious and elegant. This is possible with the addition of small details such as shower doors and mirrors. In this article, we will discuss various variations of a shower door and which will suit your needs properly.
Below are some of the shower door ideas in several settings that can amp up your bathroom decor and make it look elegant and luxurious.
Understand your space
It is important to first understand your space and requirements before making any changes to the bathroom decor. Below are some tips to consider before looking for a shower door for your bathroom.
- Understand and consider the theme of your bathroom
- Select the space and angle for the installation of the shower door.
- Always consider the frequency of usage in your bathroom
- It is also important to consider the style of other sanitary ware in your bathroom.
Types of Trendy Shower Door Options for Your Bathroom
Frameless Shower Doors
A frameless shower door is very classic and luxurious. These shower doors are transparent and very elegant. These doors provide a wide range of motion, a modern, sleek-looking design, and plenty of variety when it comes to style, size, and configuration. These frameless sliding shower doors are known to provide more natural light flow into the shower cabin. The Spacious, modern, and luxurious look of these frameless shower doors makes them a good choice for your bathroom. Due to their slippery surface, frameless glass shower doors are at less risk of mold & easier to clean. In comparison to a shower curtain, there are plenty of design options to choose from in frameless sliding shower doors.
Without a frame, there’s no stable structure to hold the glass in place, rendering it unprotected. Frameless glass is often thicker to compensate for this drawback. These are replaced at a much higher cost ($400-$1,500 more than framed). Besides due to their framelessness, they are very delicate and complicated to install – not a DIY project. There is no strong frame to seal against water and they are more susceptible to accidental damage.
Framed shower doors
With a sturdy aluminum frame around the inside edges, your shower glass door is durable and affordable compared to a shower curtain. Frames can be customized to meet nearly any home decor. Framed doors are easy to install. The frames provide more stability and durability to shower glass doors. The sealed frame offers water leak resistance that keeps the bathroom clean. They are found to be less expensive than frameless doors and custom shower doors are also available.
Although cheaper, and just as customizable as frameless, the design is outdated, the frames can see moisture build-up, and most only open outward, unless designed otherwise.
However, they offer a very limited range of motion. Metal frames can corrode from moisture and may need a replacement soon. Such doors are mostly available in outdated designs and are usually harder to clean and maintain.
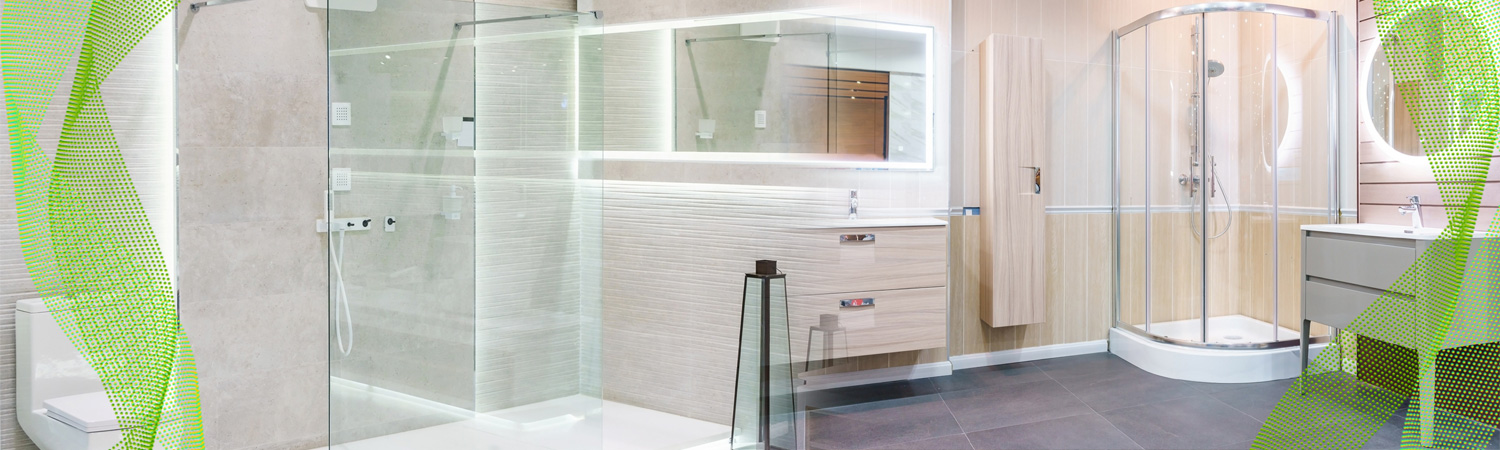
Curved shower doors
Curved shower door fixtures are often pricier options that have enormous versatility when it comes to design options. They come in a wide selection of finishes, fabrications, and glass textures. Aside from being aesthetically pleasing, round glass shower doors offer many benefits.
Sometimes, one overhead light just isn’t enough. Round shower glass doors let in the light from the rest of your bathroom (and maybe a window). Consider how important this is for safety in case the overhead bulb burns out and you need another light source to see by. A mirror over your vanity further increases the light in the room, making it easier to see when you shower.
Bathrooms, especially small ones, have a lot of hard angles. There are four corners of the room. Then you have the vanity jutting out at right angles. The back of the toilet also has hard angles. Soften the appearance of your bathroom with round shower glass doors. Consider complementing your round shower glass door with a round vanity mirror or round-shaped floor tiles.
Opaque or translucent shower doors make your bathroom appear smaller (at least visually). Shower glass doors for a round shower can make your bathroom appear as if it has more space. Round shower glass doors are versatile. They can have one big door that opens outward, or they can have two smaller doors that meet in the middle. Two smaller doors don’t take up as much interior space compared to a single door when they open into your bathroom.
Angled shower doors
Angled showers sit in the corner of your bathroom. They’re great for small bathrooms where space is limited. The innermost corner of your shower often sits on the opposite side of the room from the door. Shower glass for Angled fixture looks like it fills the entire corner in a square shape, except the corner that is closest to you has a rounded edge or a flat edge.
Angled shower glass doors can create a diamond-like shape. In a diamond gem, you see a pointed end with angles going upward and then a flat edge. When you have an Angled shower, the top of the diamond is the edge you see closest to you, and that’s the edge that forms the door.
Where the shower glass door meets the front of the shower, the glass sits at a 135-degree angle. Every other angle measures 90 degrees, meaning the glass is at a perpendicular point against the wall. The two pieces of glass coming out from the wall meet the third piece at different angles so they can open properly and into the space of your bathroom. All Angled shower doors have three pieces.
One thing all Angled shower glass doors have in common is how they open. Every door on an Angled shower opens outward. They can’t slide because of the way the angles work. Even in a small bathroom, these shower glass doors offer a stylish addition to your home when you want to refresh your bathroom decor.
Pivot Doors
Pivot doors are available on a framed or frameless shower door, pivot doors open at 180 degrees inward or outward by a hinge. These are often used on curved or round glass shower doors and are perfect for those who require wheelchair accessibility, the aging, or the disabled. Pivot shower doors for tubs are the most German shower enclosures and fixtures come in many different types. The most common type of pivot door is the framed door, which is made from a frame and two panels of glass. Framed pivot doors can come in a variety of finishes and colors.
Frameless pivot doors used as German shower enclosures are also available, which are made from either a single piece of glass or two glass panels connected by a hinge. Frameless pivot doors can come in a variety of styles, such as swing, sliding, and bi-fold.
Some pivot doors also come with a built-in shower enclosure. This type of door has a frame with an integrated shower enclosure, such as a shower tray or a shower wall. This type of door is ideal for those who want a more complete shower solution.
Pivot shower doors and fixtures offer many advantages. The most obvious advantage is that they are easy to open and close, making them a great option for those with limited mobility. The pivot door also provides a tight seal when closed, which helps to keep water contained within the shower.
Pivot doors are also a great option for those who want a modern look in their bathroom. The sleek design of the door adds a contemporary touch to the bathroom. Additionally, pivot doors can be customized to fit any space, making them a great option for those with odd-shaped bathrooms.
Installing a pivot shower door or enclosure is relatively straightforward. The first step is to measure the space and order the door or enclosure. The measurements should include the height, width, and depth of the space.
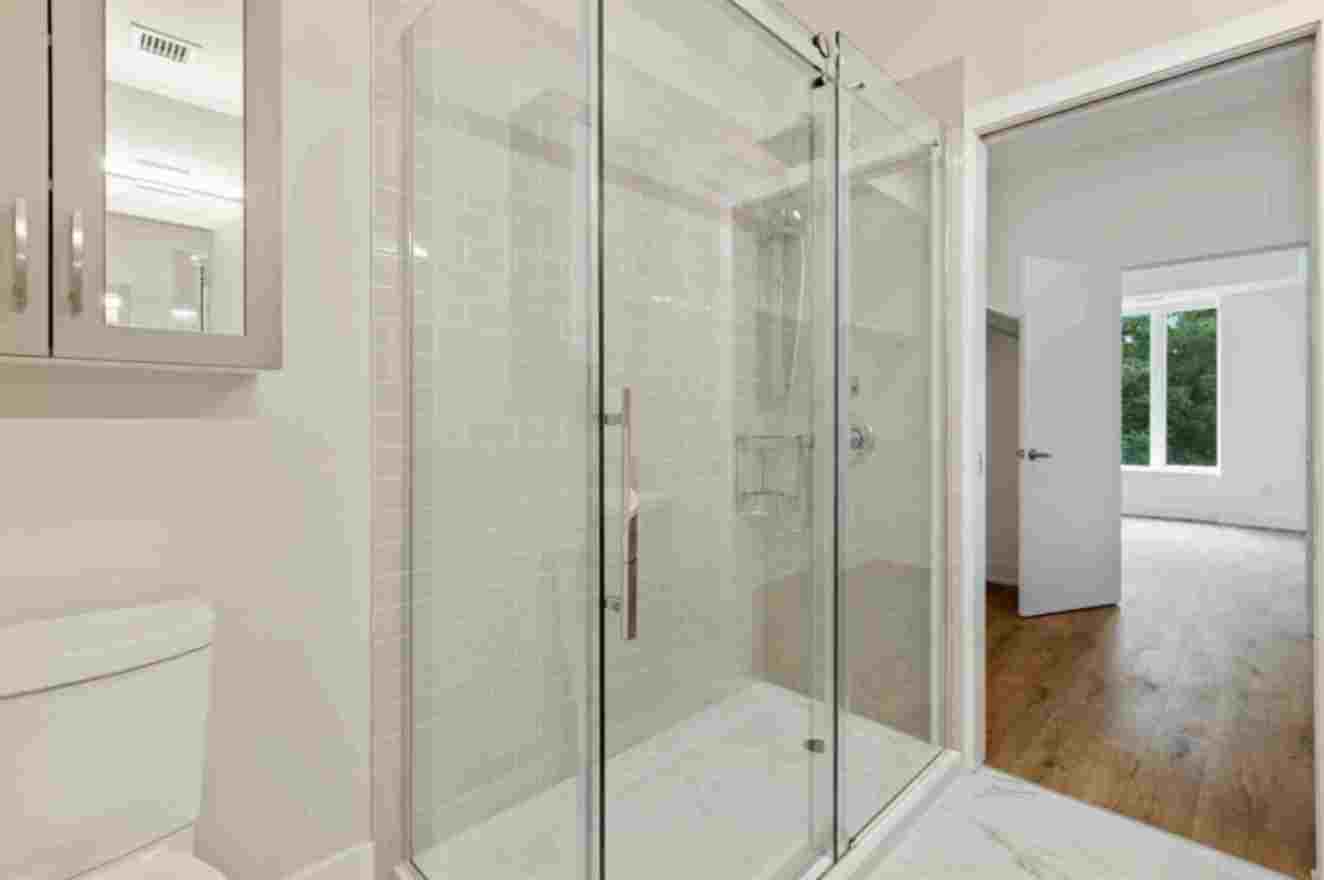
Sliding Doors
Whether with or without frames, sliding shower doors for tubs function similarly to patio doors. These are used in stand-alone showers, as well as shower/tub configurations. To open and close, the doors might be inside of grooves or small rollers could assist the movement. Framed sliding doors remain among the cheapest options available.
Bath Screen Door
These consist of several glass panels. Typically, one remains fixed, and the other two fold in on hinges attached to the frame. These doors are also available as Dreamline shower doors that use space efficiently, are affordable in price, and are easy to install.
Steam Doors
Simply put these glass shower doors come with an airtight seal that allows your shower to transform into a steam room. There are often built-in panels above the door that can be used as adjustable vents. Impressive, but expensive. These are also available at Kohler shower doors and are difficult to install and remain the most expensive option on the market.
Conclusion
A shower cabin IKEA sells can be easily paired with such doors. Such a shower cabin IKEA is easily available and affordable. Products like Dreamline shower doors, Ortonbath shower doors, Kohler shower doors, menards shower doors, pivot shower doors, and custom shower doors are available in countries like Russia, Germany, and Columbia.